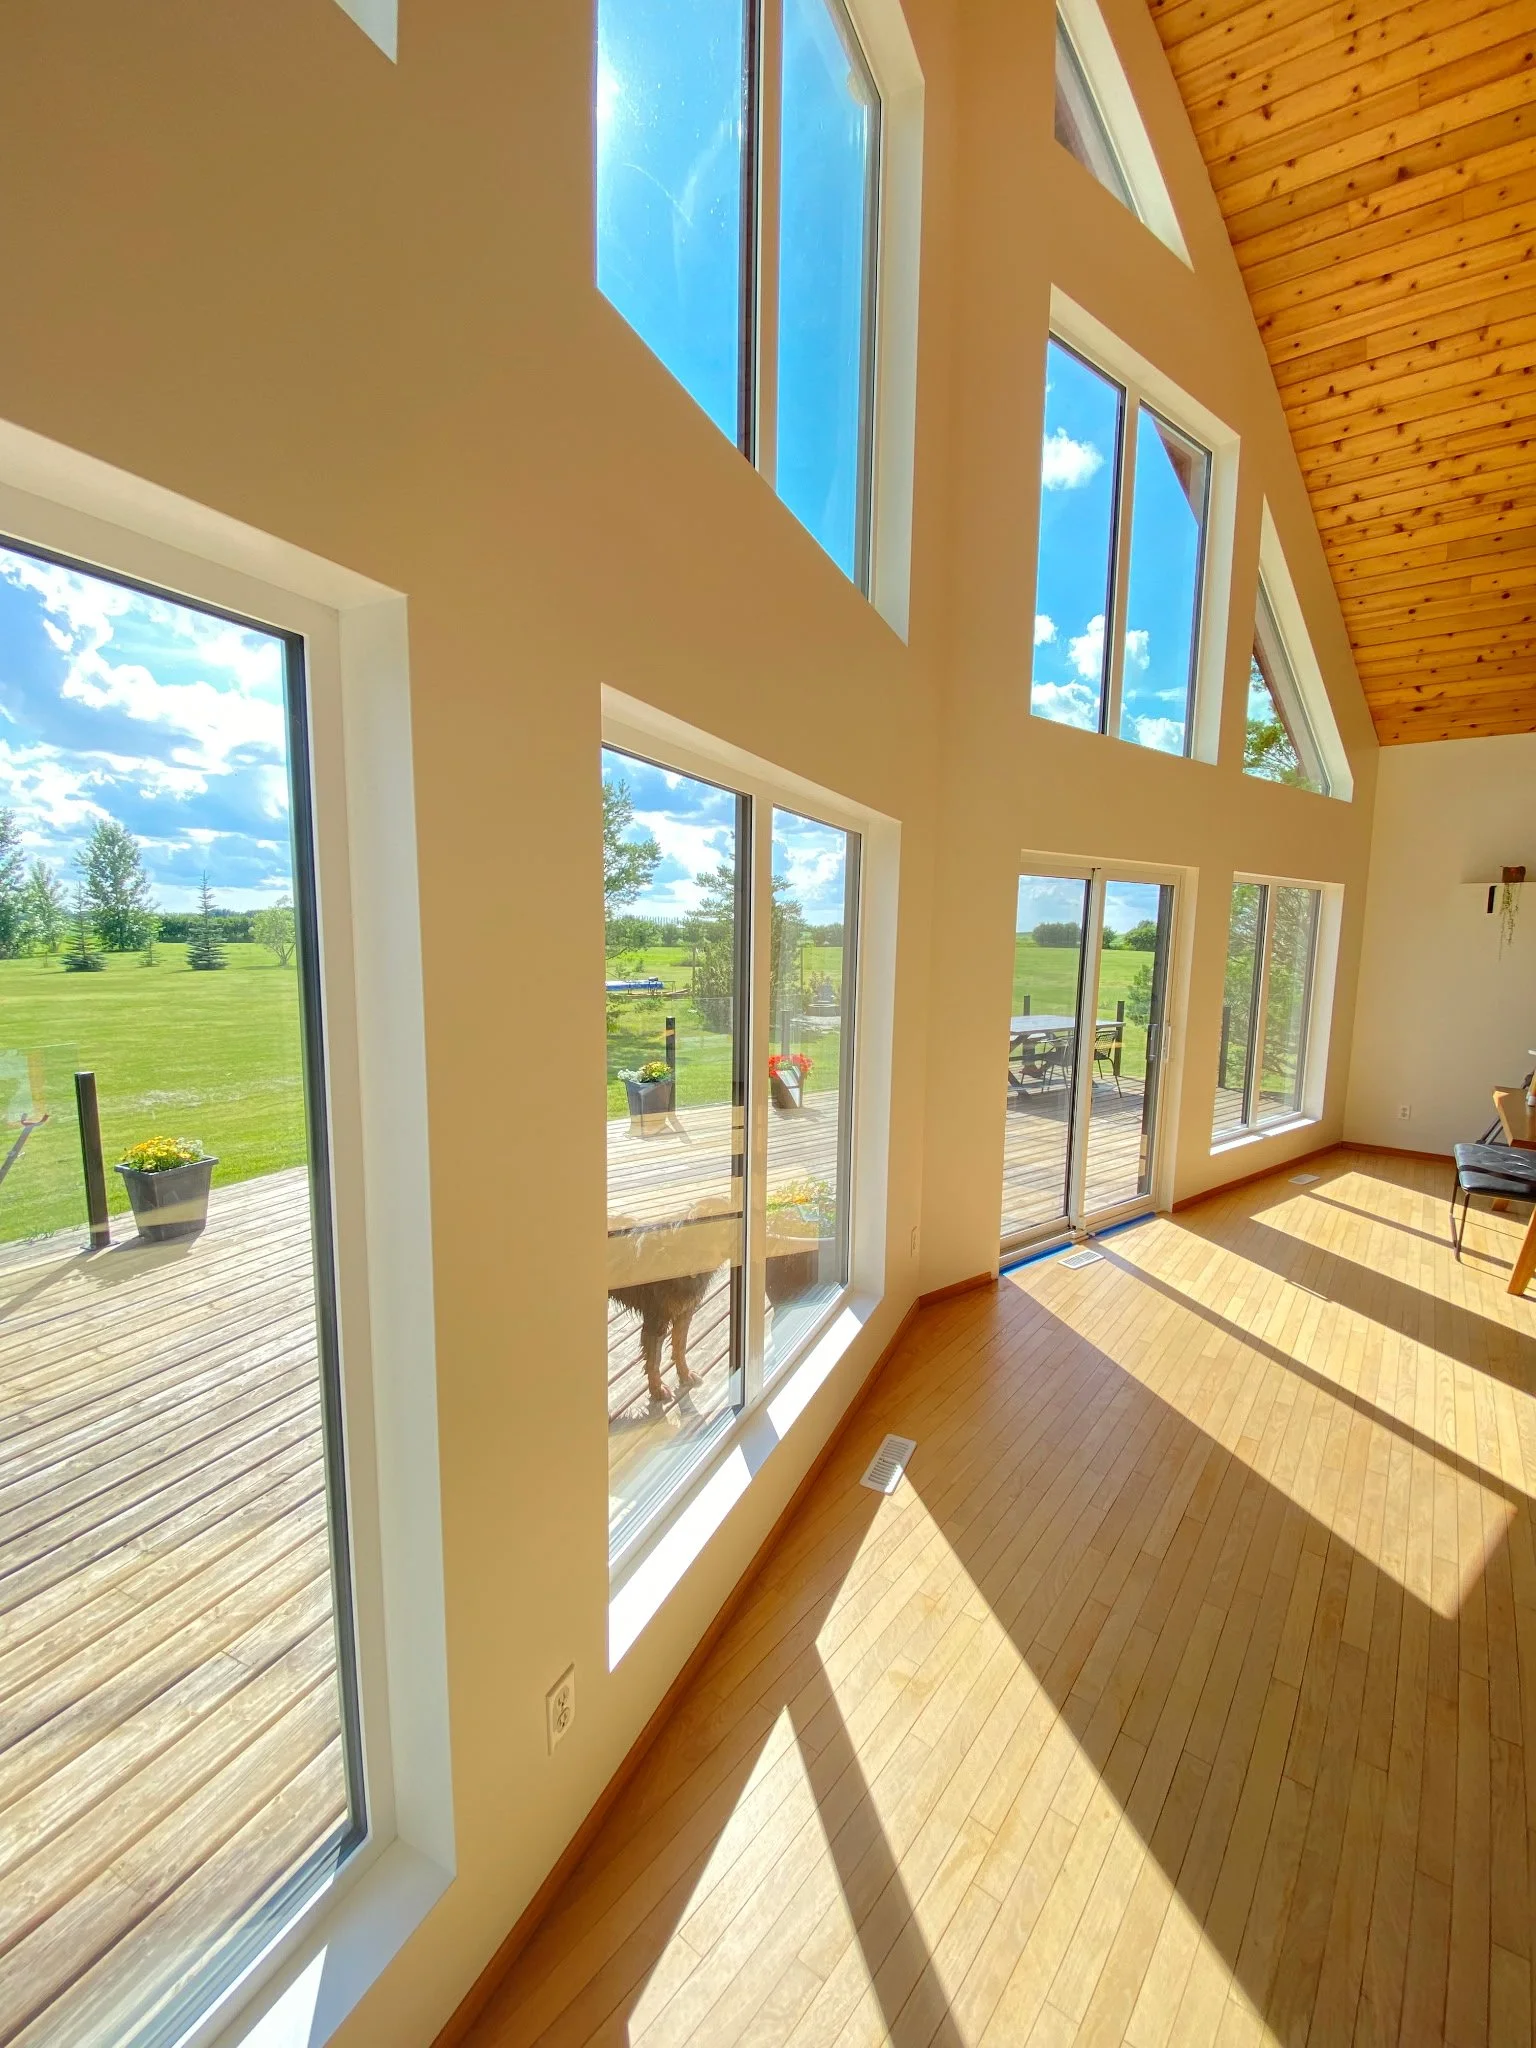
PVC Window Jamb Extensions – Finish with casing, never worry about water damage again.
Why Choose Our Traditional PVC Jamb Extensions?
Built for performance. Designed with precision. Trusted by contractors.
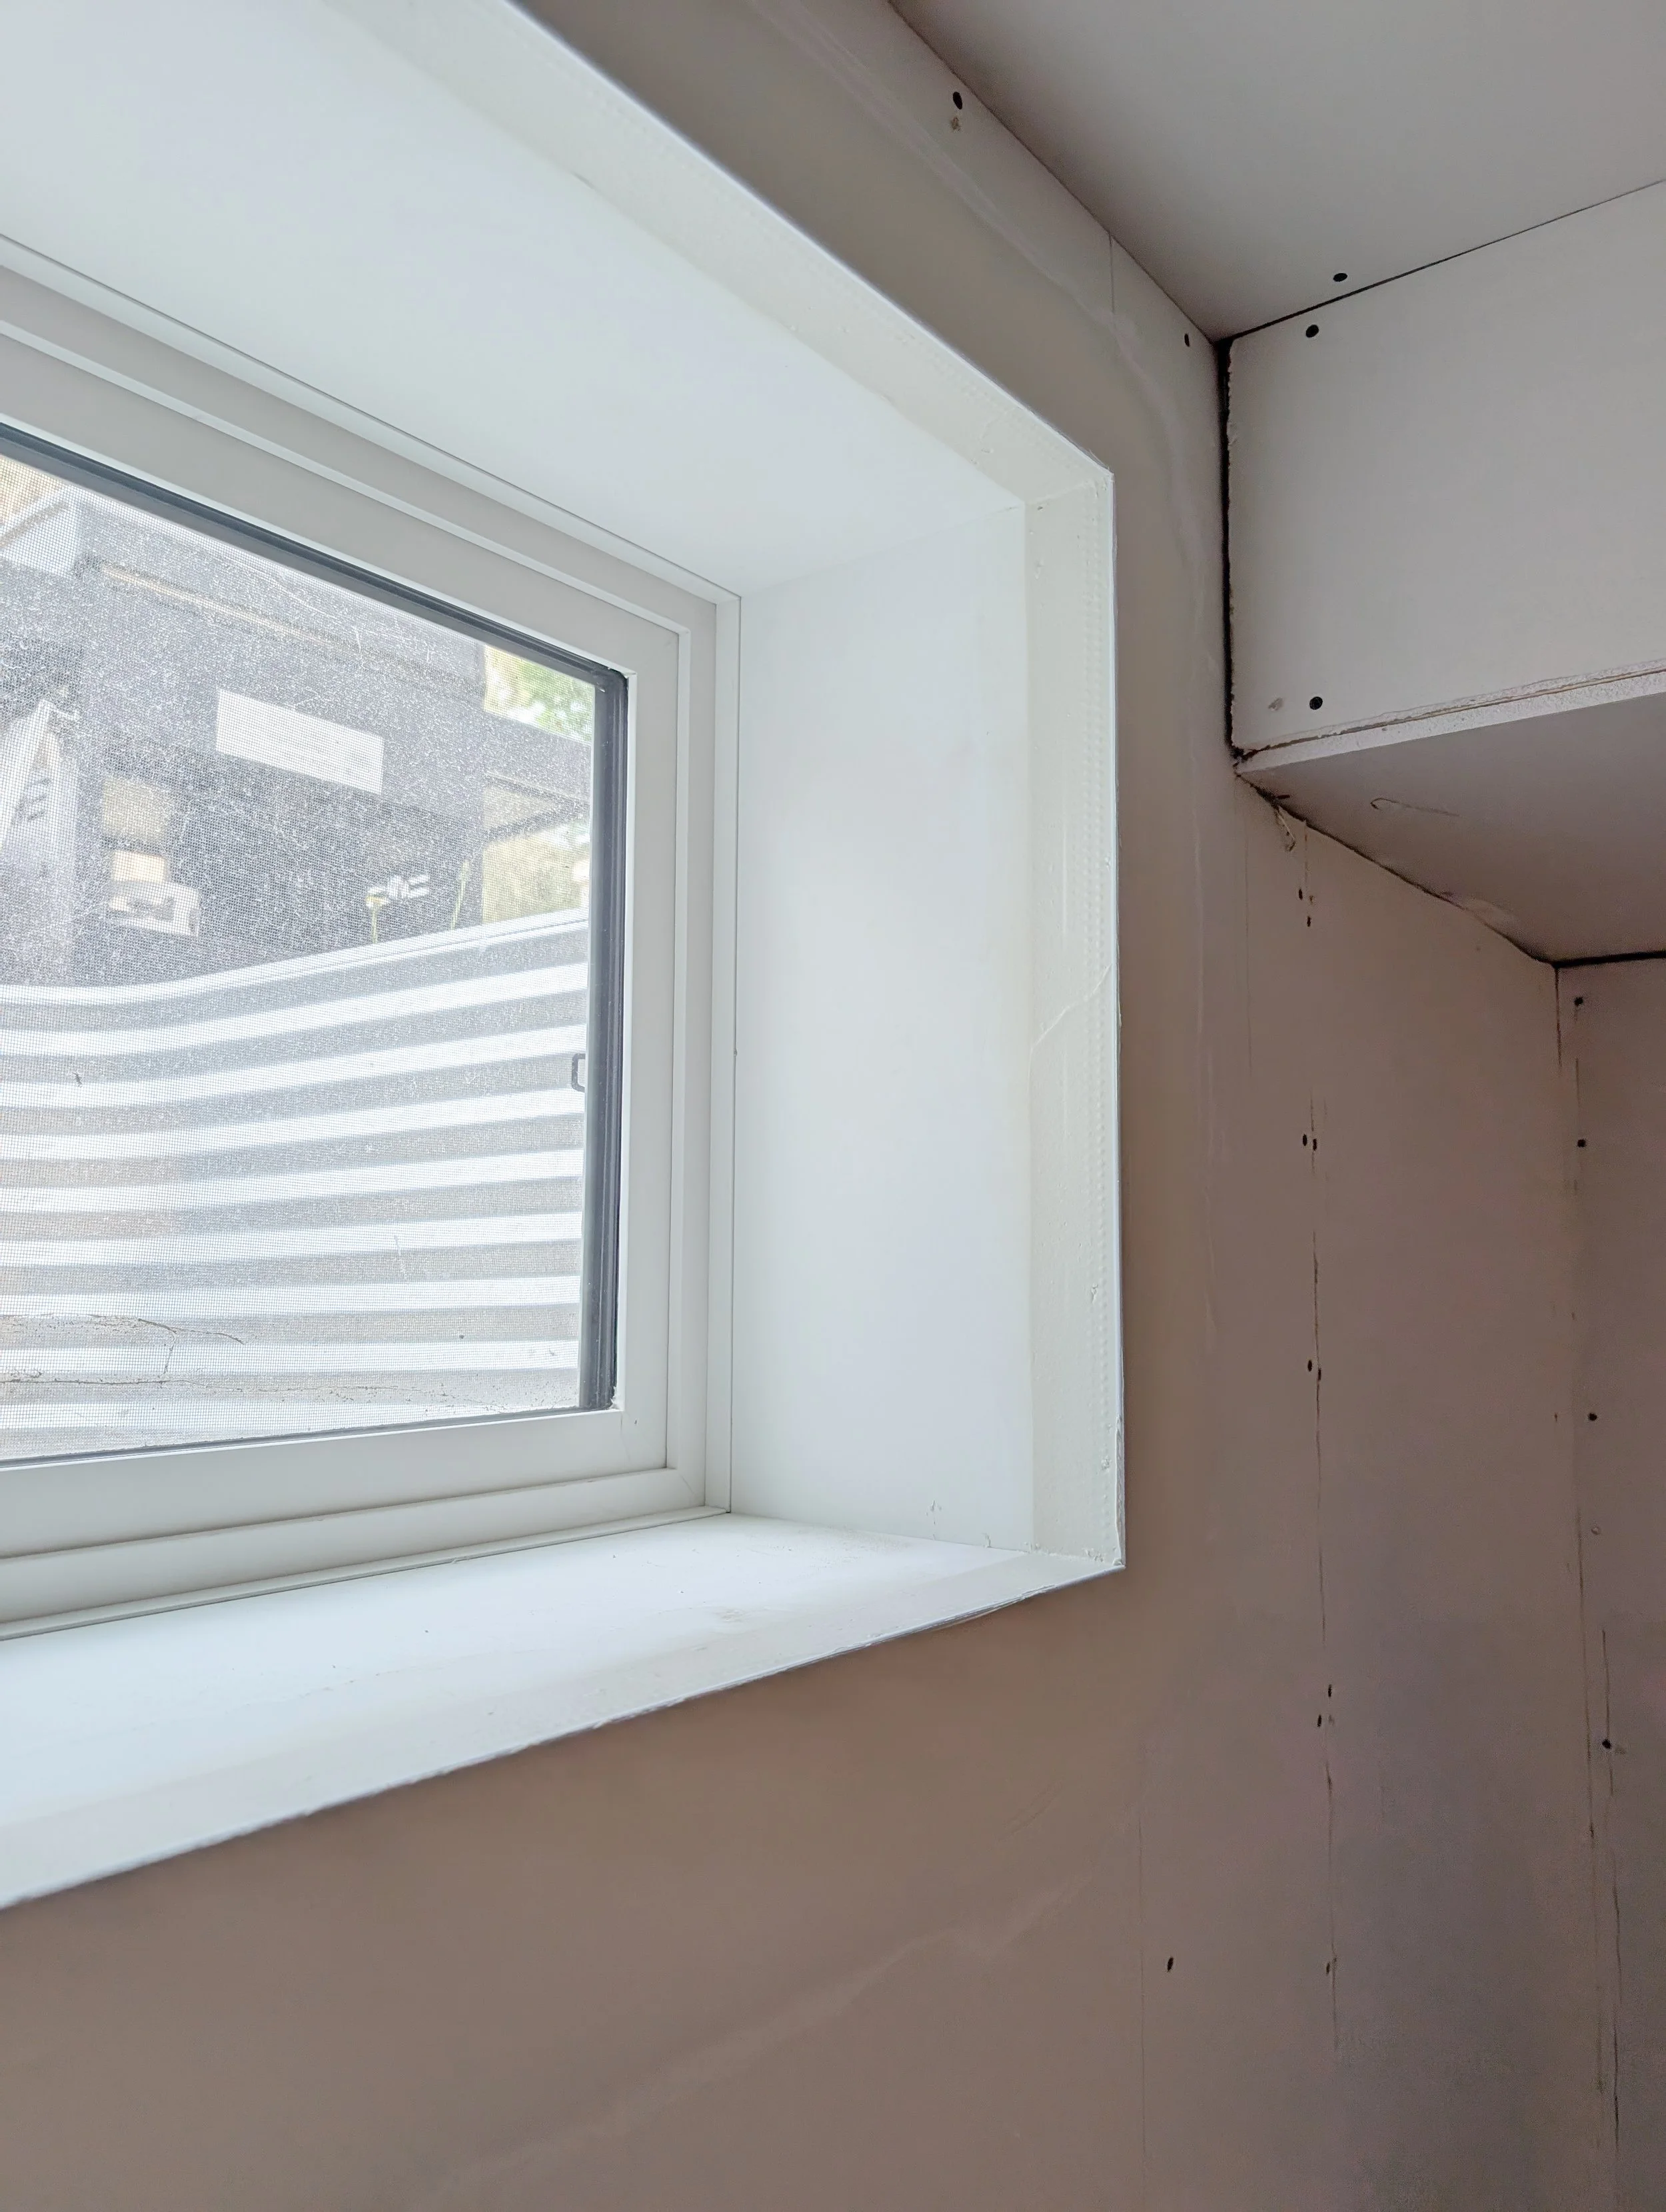
Moisture-Resistant & Durable
Made from premium-grade PVC that resists warping, swelling, and rot — ideal for Canadian climates.
Custom-Cut to Fit
Let us save you the frustrations of dealing with oversized windows and crooked walls - you simply give us your measurements and we will build you a jamb to fit.
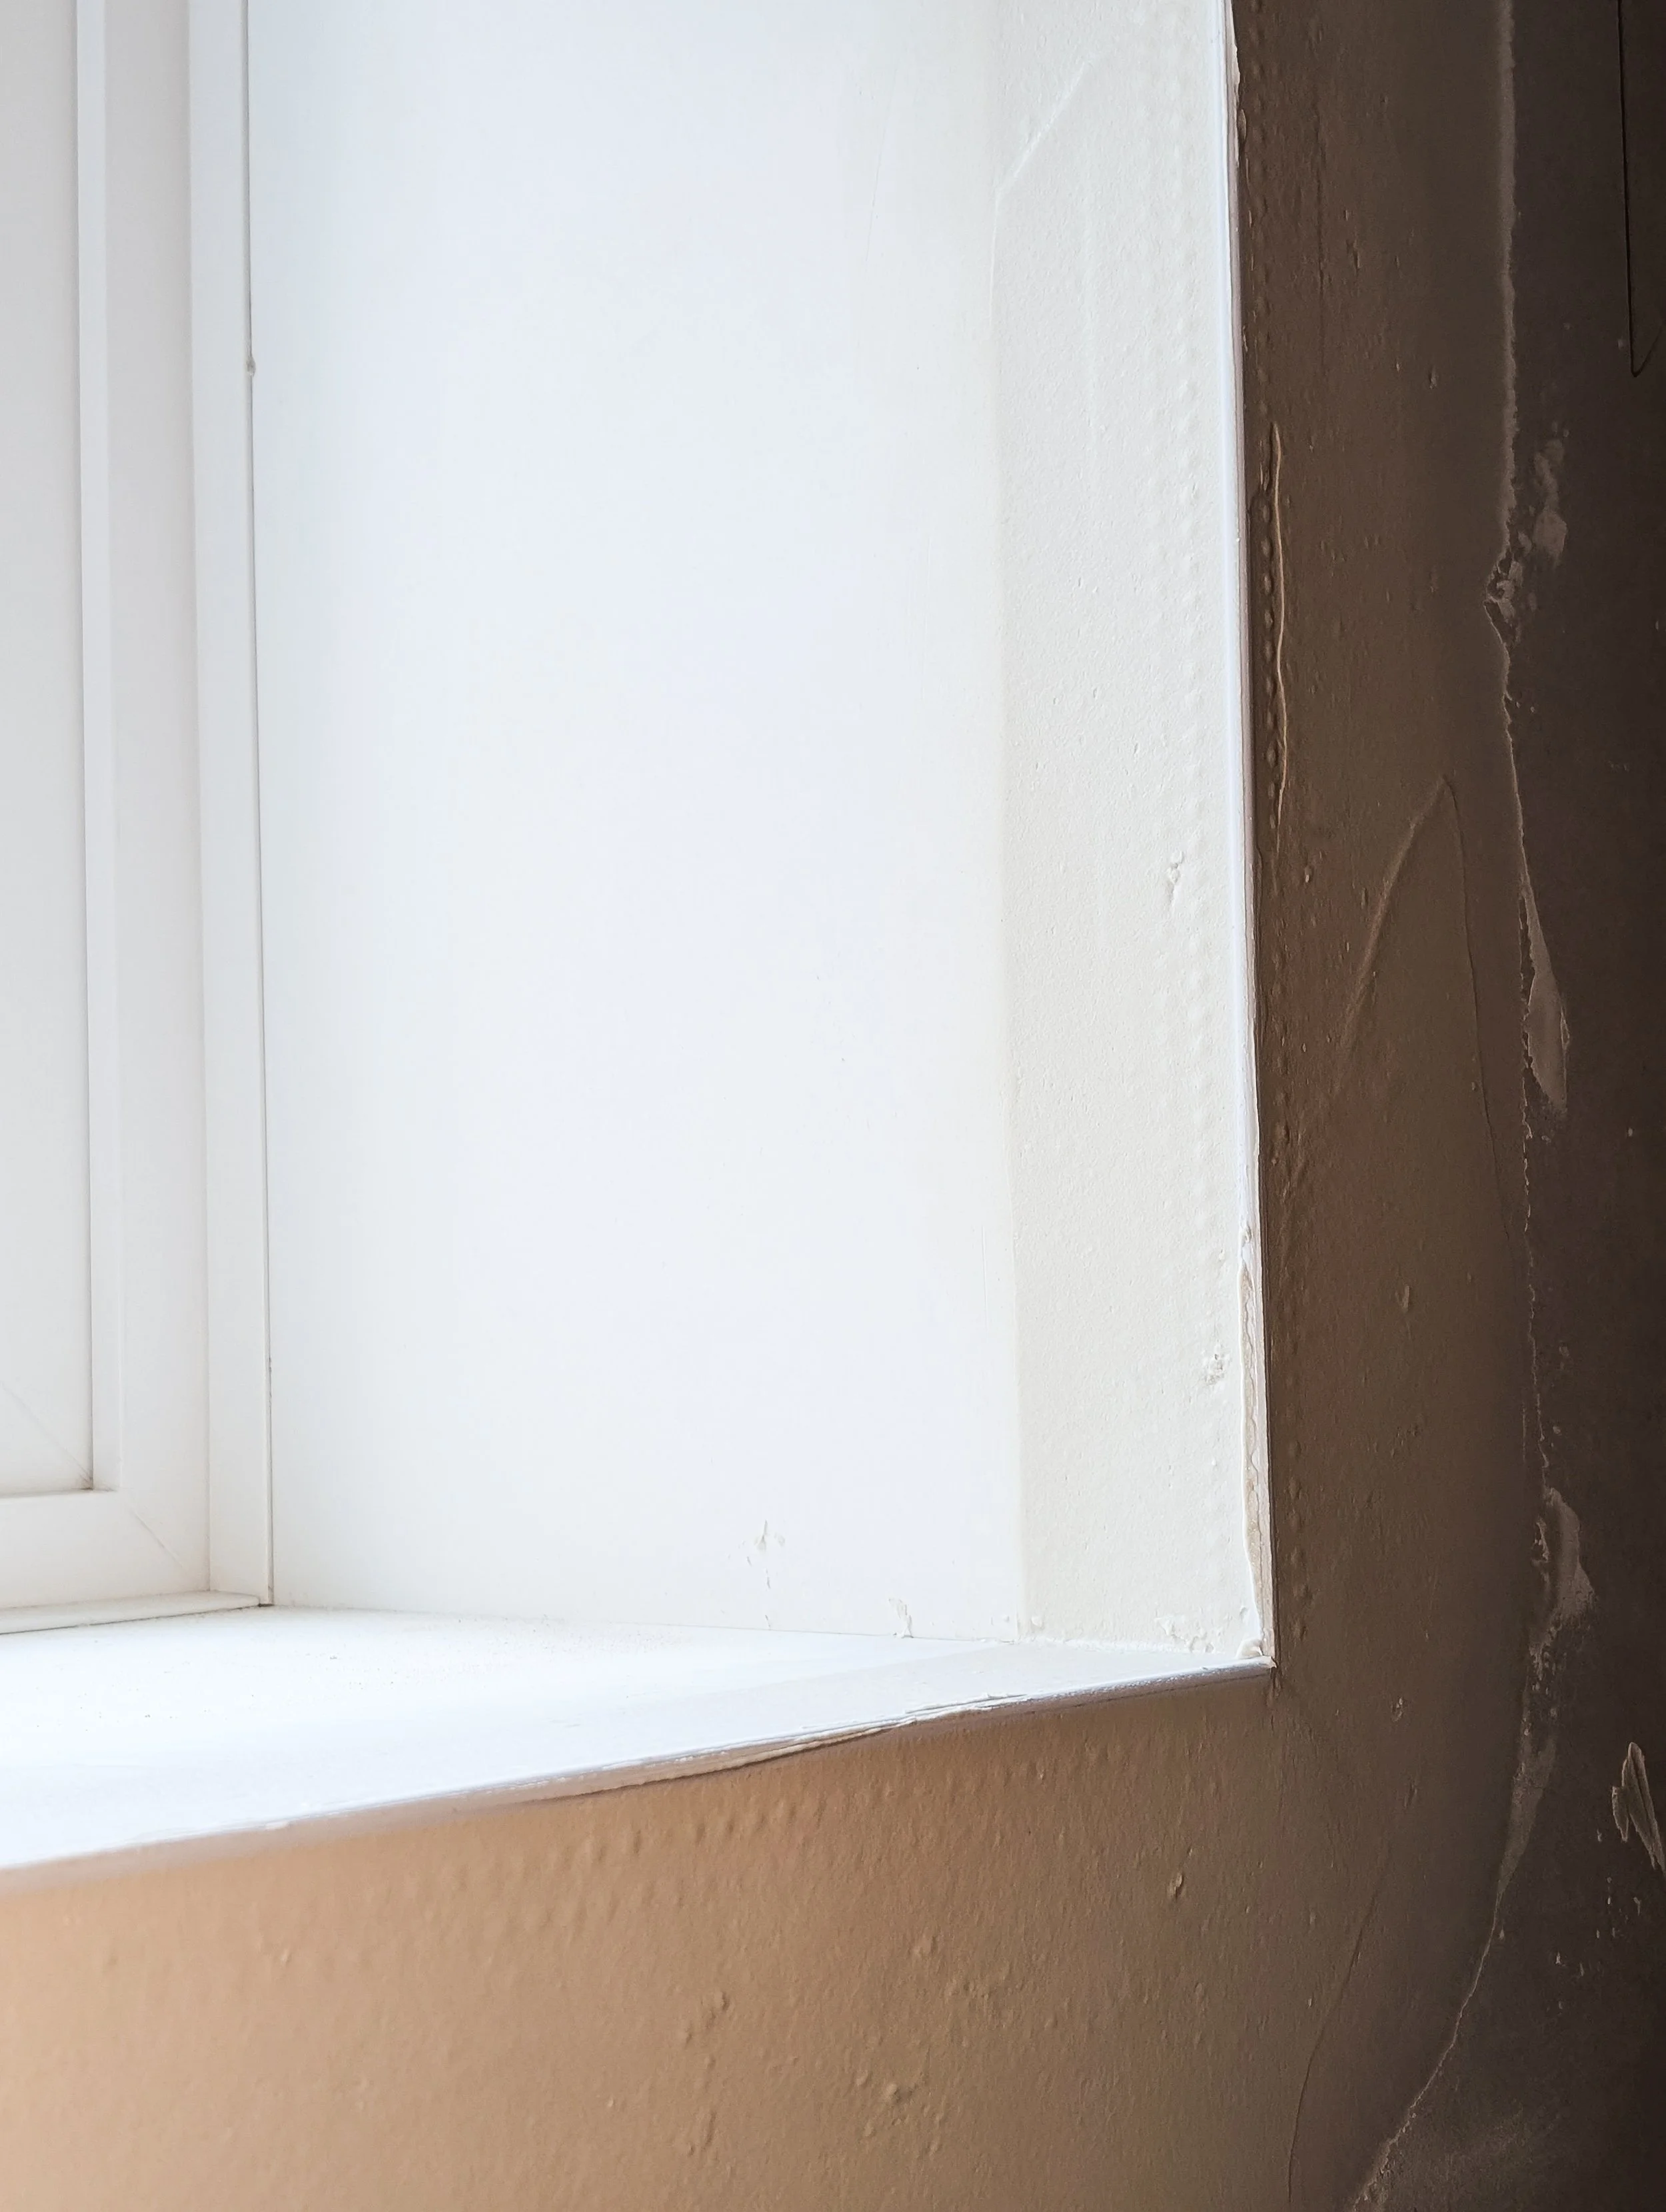
Glossy Finish – No Painting Required
High-quality, factory-applied glossy finish that matches PVC windows — no need for painting after installation.
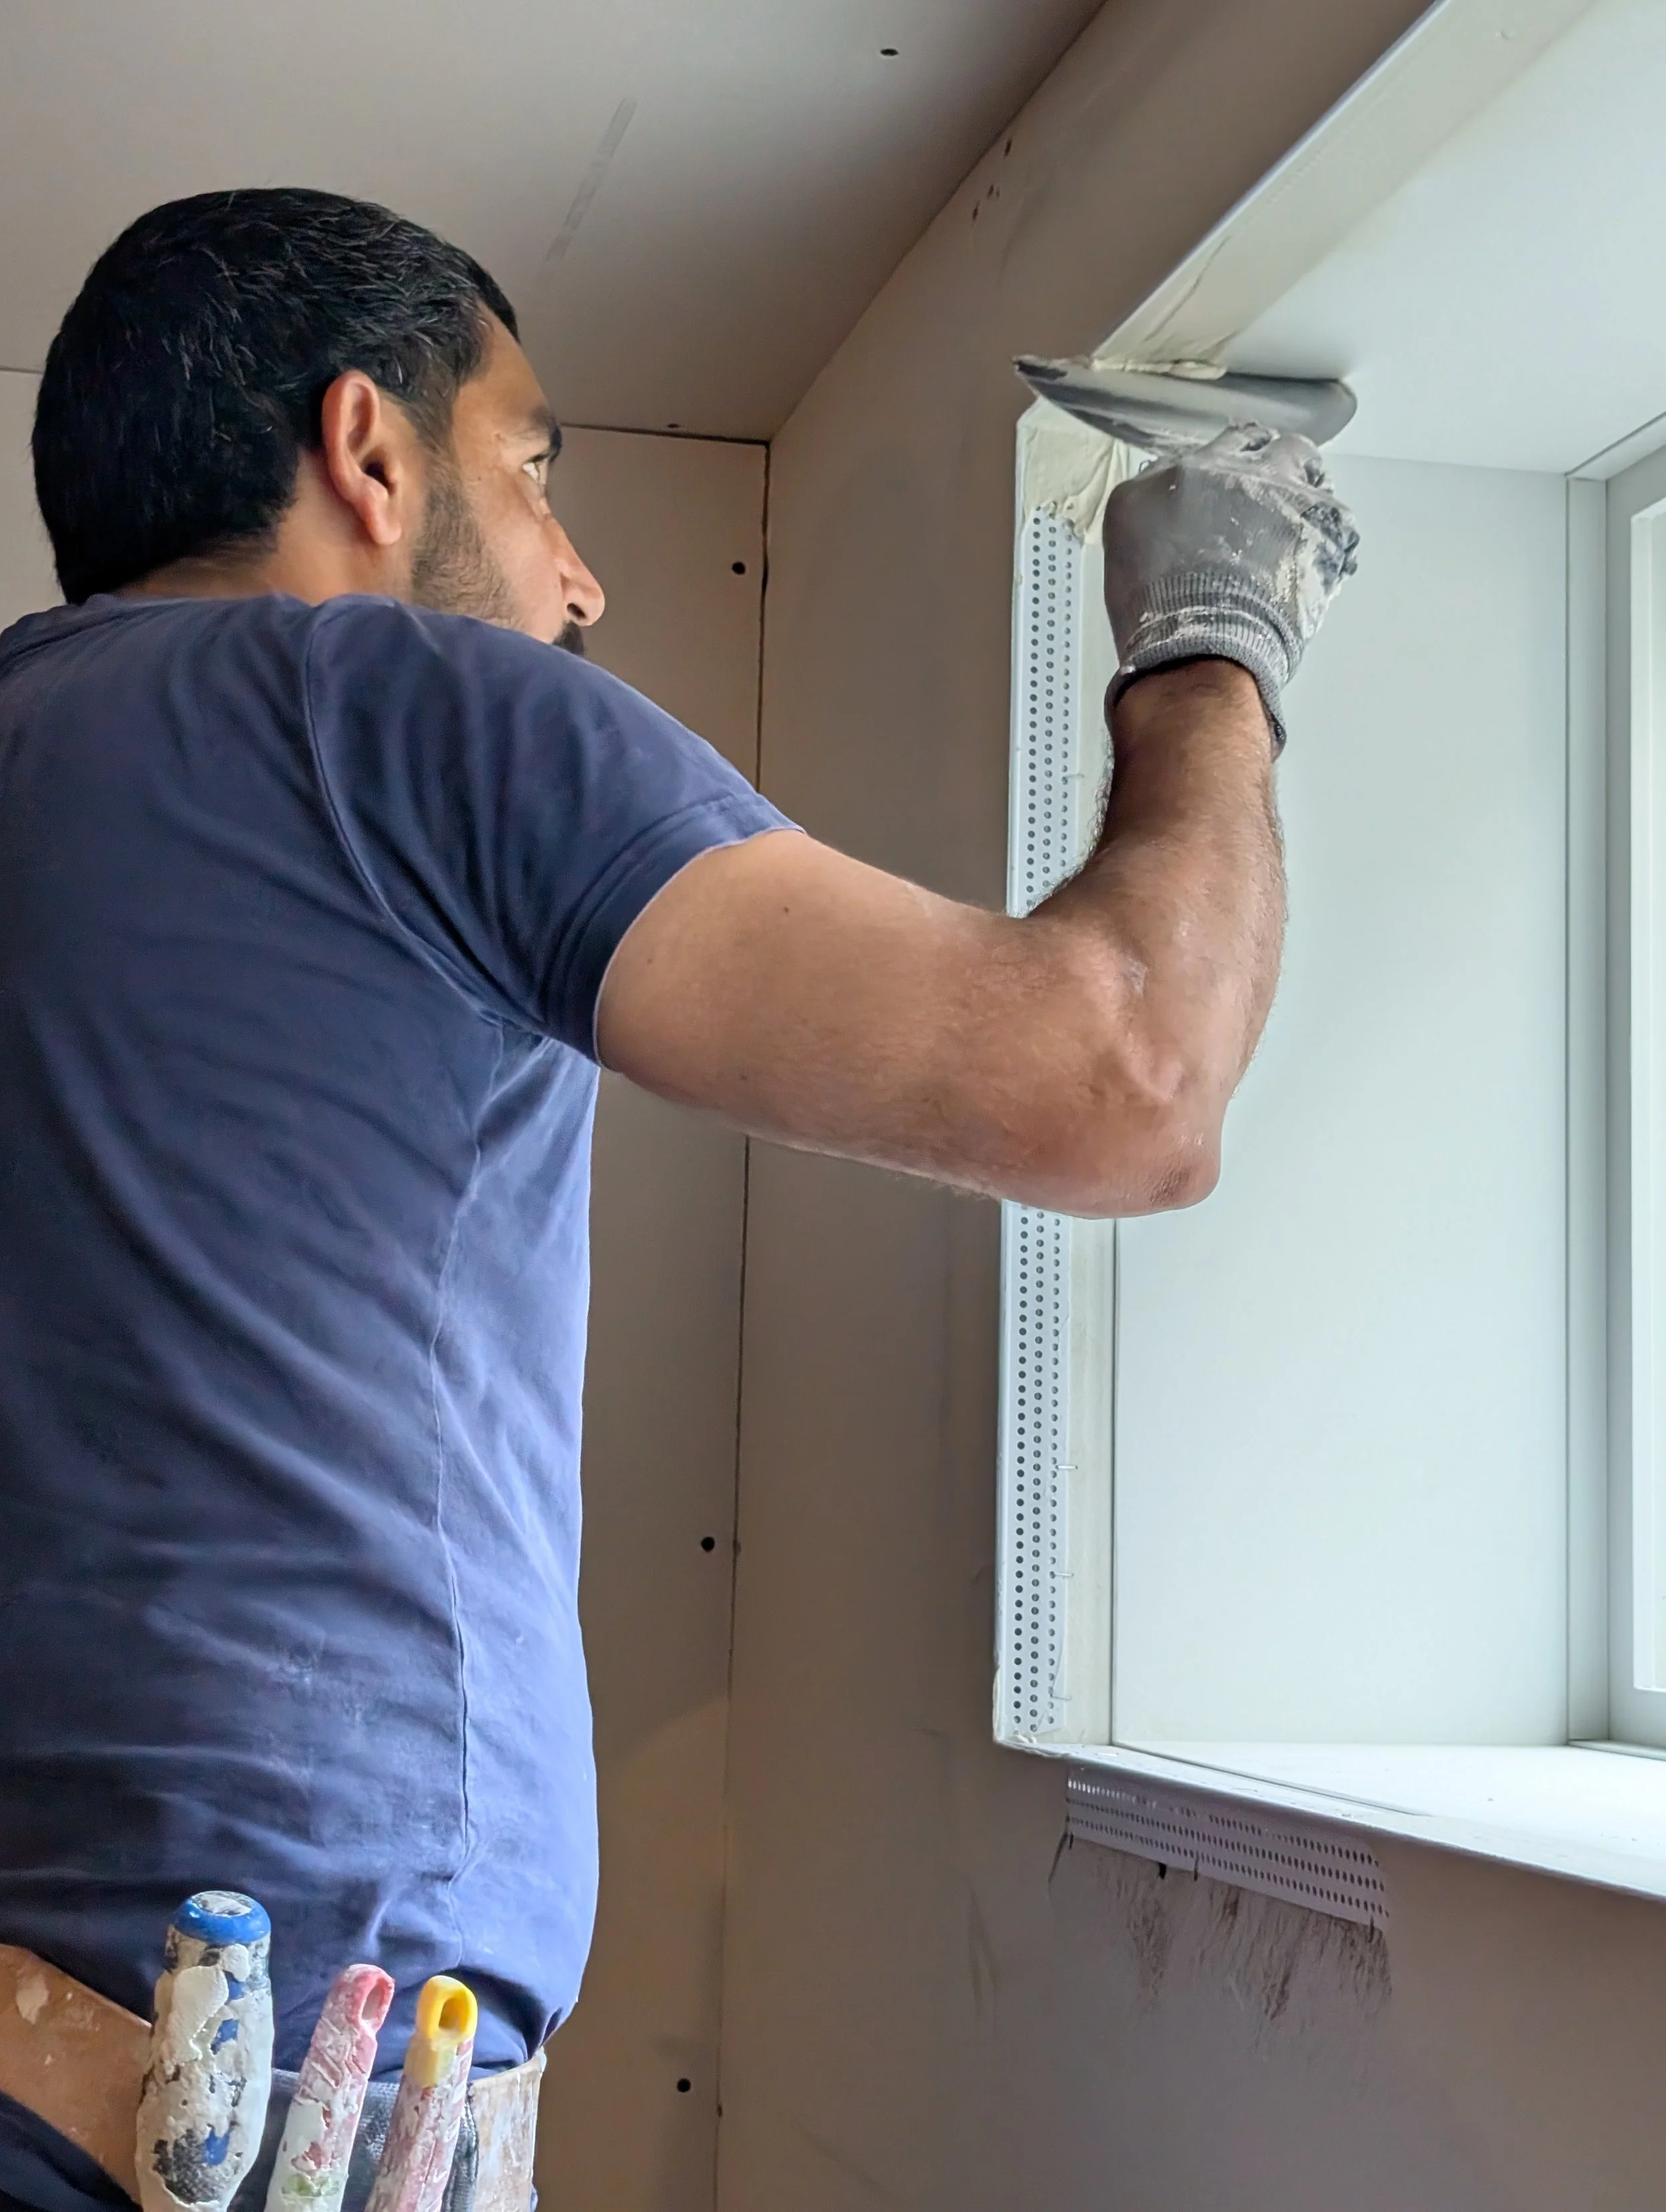
Easy to Install
Whether you're a first time renovator or an experienced finisher completing a window wall, our PVC solution makes it easy.
3/4” Standard Thickness
Our jamb extensions are built to a 3/4” standard depth — optimized for most framing and drywall configurations.
Superior to MDF and Drywall
No flaking. No swelling. No mold. Just clean, professional results that outperform lower-grade trim products.
We make finishing windows simple
Send Us Your Measurements
Using the guides under "resources", send us your length, height and depth at each corner. For a quick estimate, fill out our quote calculator and then send it our way to place your order.
We Manufacture Your Jambs and Ship Quickly
Depending on the quantity of windows you need, we ship out windows in roughly 2 weeks. To save on shipping, we dissassemble your jamb and ship it flat.
Re-Assemble and Install
Simply re-assemble and install in place using the supplied silicone and installation clips. Once the silicone is set, remove the clips and your window is ready for casing!
How to Measure
To get an accurate quote, you'll need your total square footage and jamb depth. Here's how:
1. Measure Window Width & Height
Flat Window: Measure from outer edge to outer edge of the frame for both height and width.
Drywall Return (U-Channel): Hook your tape measure to the inside of the drywall return and measure from inside to inside.
2. Determine Jamb Depth
Measure from the window (or inside edge of drywall return) to the outer edge of the drywall to determine your required jamb depth.
3. For More help, see "resources"
See specific window measurements needed for your window type or contact us for help with your measurements. Contact us if you have an existing jamb that needs an extension.